

At first, we had talked a lot about getting a giant, metallic/reflective decal for the wall. We were on a pretty tight budget and there was no way we could afford to get a sign maker to make us something. So I decided to try to make one, and I wanted it to look as close to something retro and cool as I could, blinking marquee lights, neon and sheet metal all hanging off the corner of the building with a big blinking arrow pointing at the door
By the end of it, none of the lights blink, there’s no neon and it’s made of wood so it just sits on the wall in the lobby. But it’s still pretty awesome to drive down Ripley and 7th and see this baby shining through the glass.
By the end of it, none of the lights blink, there’s no neon and it’s made of wood so it just sits on the wall in the lobby. But it’s still pretty awesome to drive down Ripley and 7th and see this baby shining through the glass.
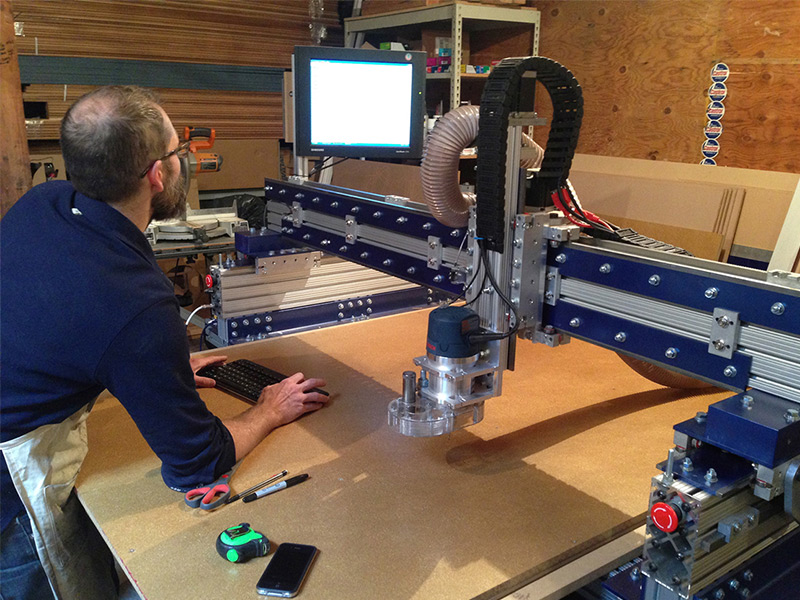
Our talented friend Avery put in some major time helping us get this thing squared away. He’s got a 4′ x 4′ CNC router that was working like a champ cutting this thing out. It was three layers thick of 3/4″ wheat board. The front layer was the face, and the back two held all the guts and hanging hardware.
The only bummer with the machine ate my jacket because I was standing too close to it as the sleigh rolled by me.
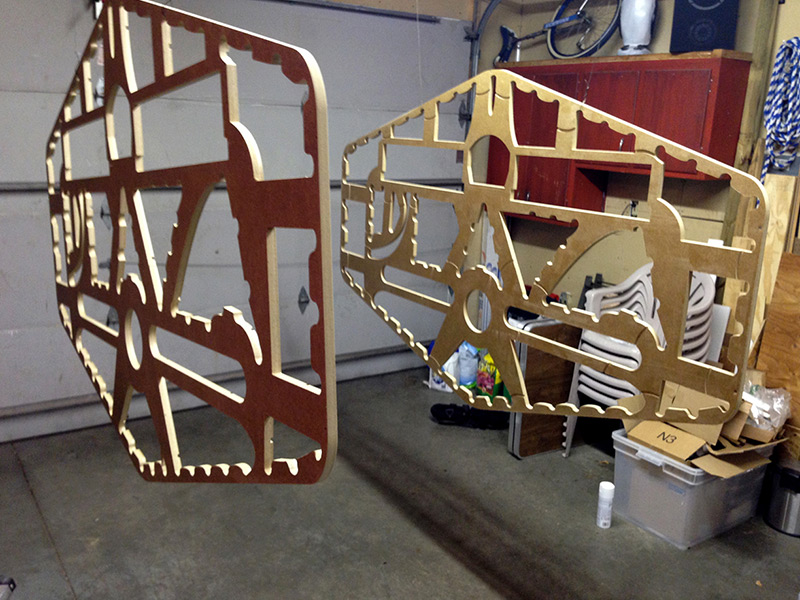
These are the back two layers of board. A lot of these holes were simply me designing it to make the sign not weigh so much. But trying to figure out how to route the 50-bulb string lights through these pieces but still have enough board to stay sturdy and strong was like trying to draw with my left hand while looking through a mirror. I hung them up to pain the edges.
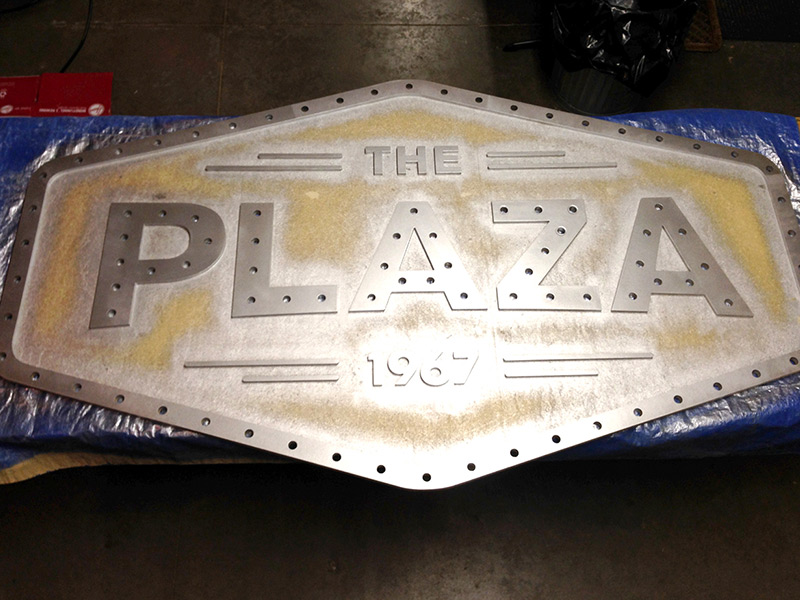
I painted the border and letters with silver spray paint, then flat black went on the deeper parts of the face with a brush. After it dried, I could flip it over on it’s face to glue and screw it together with the two back pieces.
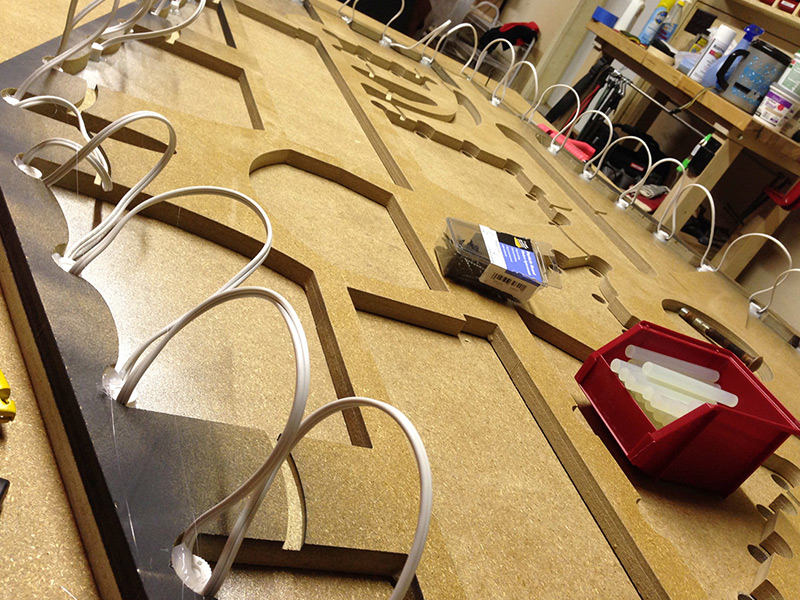
Then it was time to hot glue almost 100 bulbs into the little holes the router cut.
You can see that the amount of wire between each bulb is a lot longer than the distance between bulbs on the front of the sign. I had to cut big pockets for all the excess wire to hide out in so it wouldn’t get pinched between the wall and the sign. You can also see little channels routed between each pocket so that the wire could move from pocket to pocket without sticking out too. Those two big rectangle pockets in the middle were where the mounting hardware got screwed into, with the female side being screwed into the wall. We also had an electrician come out and put a recessed wall outlet in so the plug wouldn’t make the sign sit off the wall any.
You can see that the amount of wire between each bulb is a lot longer than the distance between bulbs on the front of the sign. I had to cut big pockets for all the excess wire to hide out in so it wouldn’t get pinched between the wall and the sign. You can also see little channels routed between each pocket so that the wire could move from pocket to pocket without sticking out too. Those two big rectangle pockets in the middle were where the mounting hardware got screwed into, with the female side being screwed into the wall. We also had an electrician come out and put a recessed wall outlet in so the plug wouldn’t make the sign sit off the wall any.